We are pleased to announce the release of Sandra Evertson’s new line of ArtFoamies called Fragments.
Read moreFragments- Six Ways
Kae Pea Collage
Your Custom Text Here

Kae Pea Collage
We are pleased to announce the release of Sandra Evertson’s new line of ArtFoamies called Fragments.
Read more
When Kristen Powers asked me to create some images for the ArtFoamies collection I was thrilled but have to admit I had never used one before so I was really anxious to try out the samples she sent. Well as you all already know they are a joy to create with! I will show you step by step within this photo series how to create this simple but Fabulous Velvet Shrine and to make it convenient I will leave this post up permanently for you to refer to anytime.

SUPPLIES LIST
chipboard
old box
scissors
tacky glue
marker or pencil
small clamps
black craft paint
brush
ruler
upholstery needle
embroidery thread
velvet strip 1 1/2” wide x 16” long
trinket charms

Load the ArtFoamie up with black ink.

Stamp onto a piece of chipboard.

Cut out with scissors.

Make sure to cut out the portion that creates the scallops because we will stitch into those later.

Place Cupula ArtFoamie on top of a piece of old cardboard box and trace around it with a marker or pencil. No need to get into the scallop crevices just create an “arch” shape as this piece will be used as the back of the shrine.

Cut out the arch piece. I have marked mine here to give you and approximate size 2 3/4” wide x 5 1/2” tall.

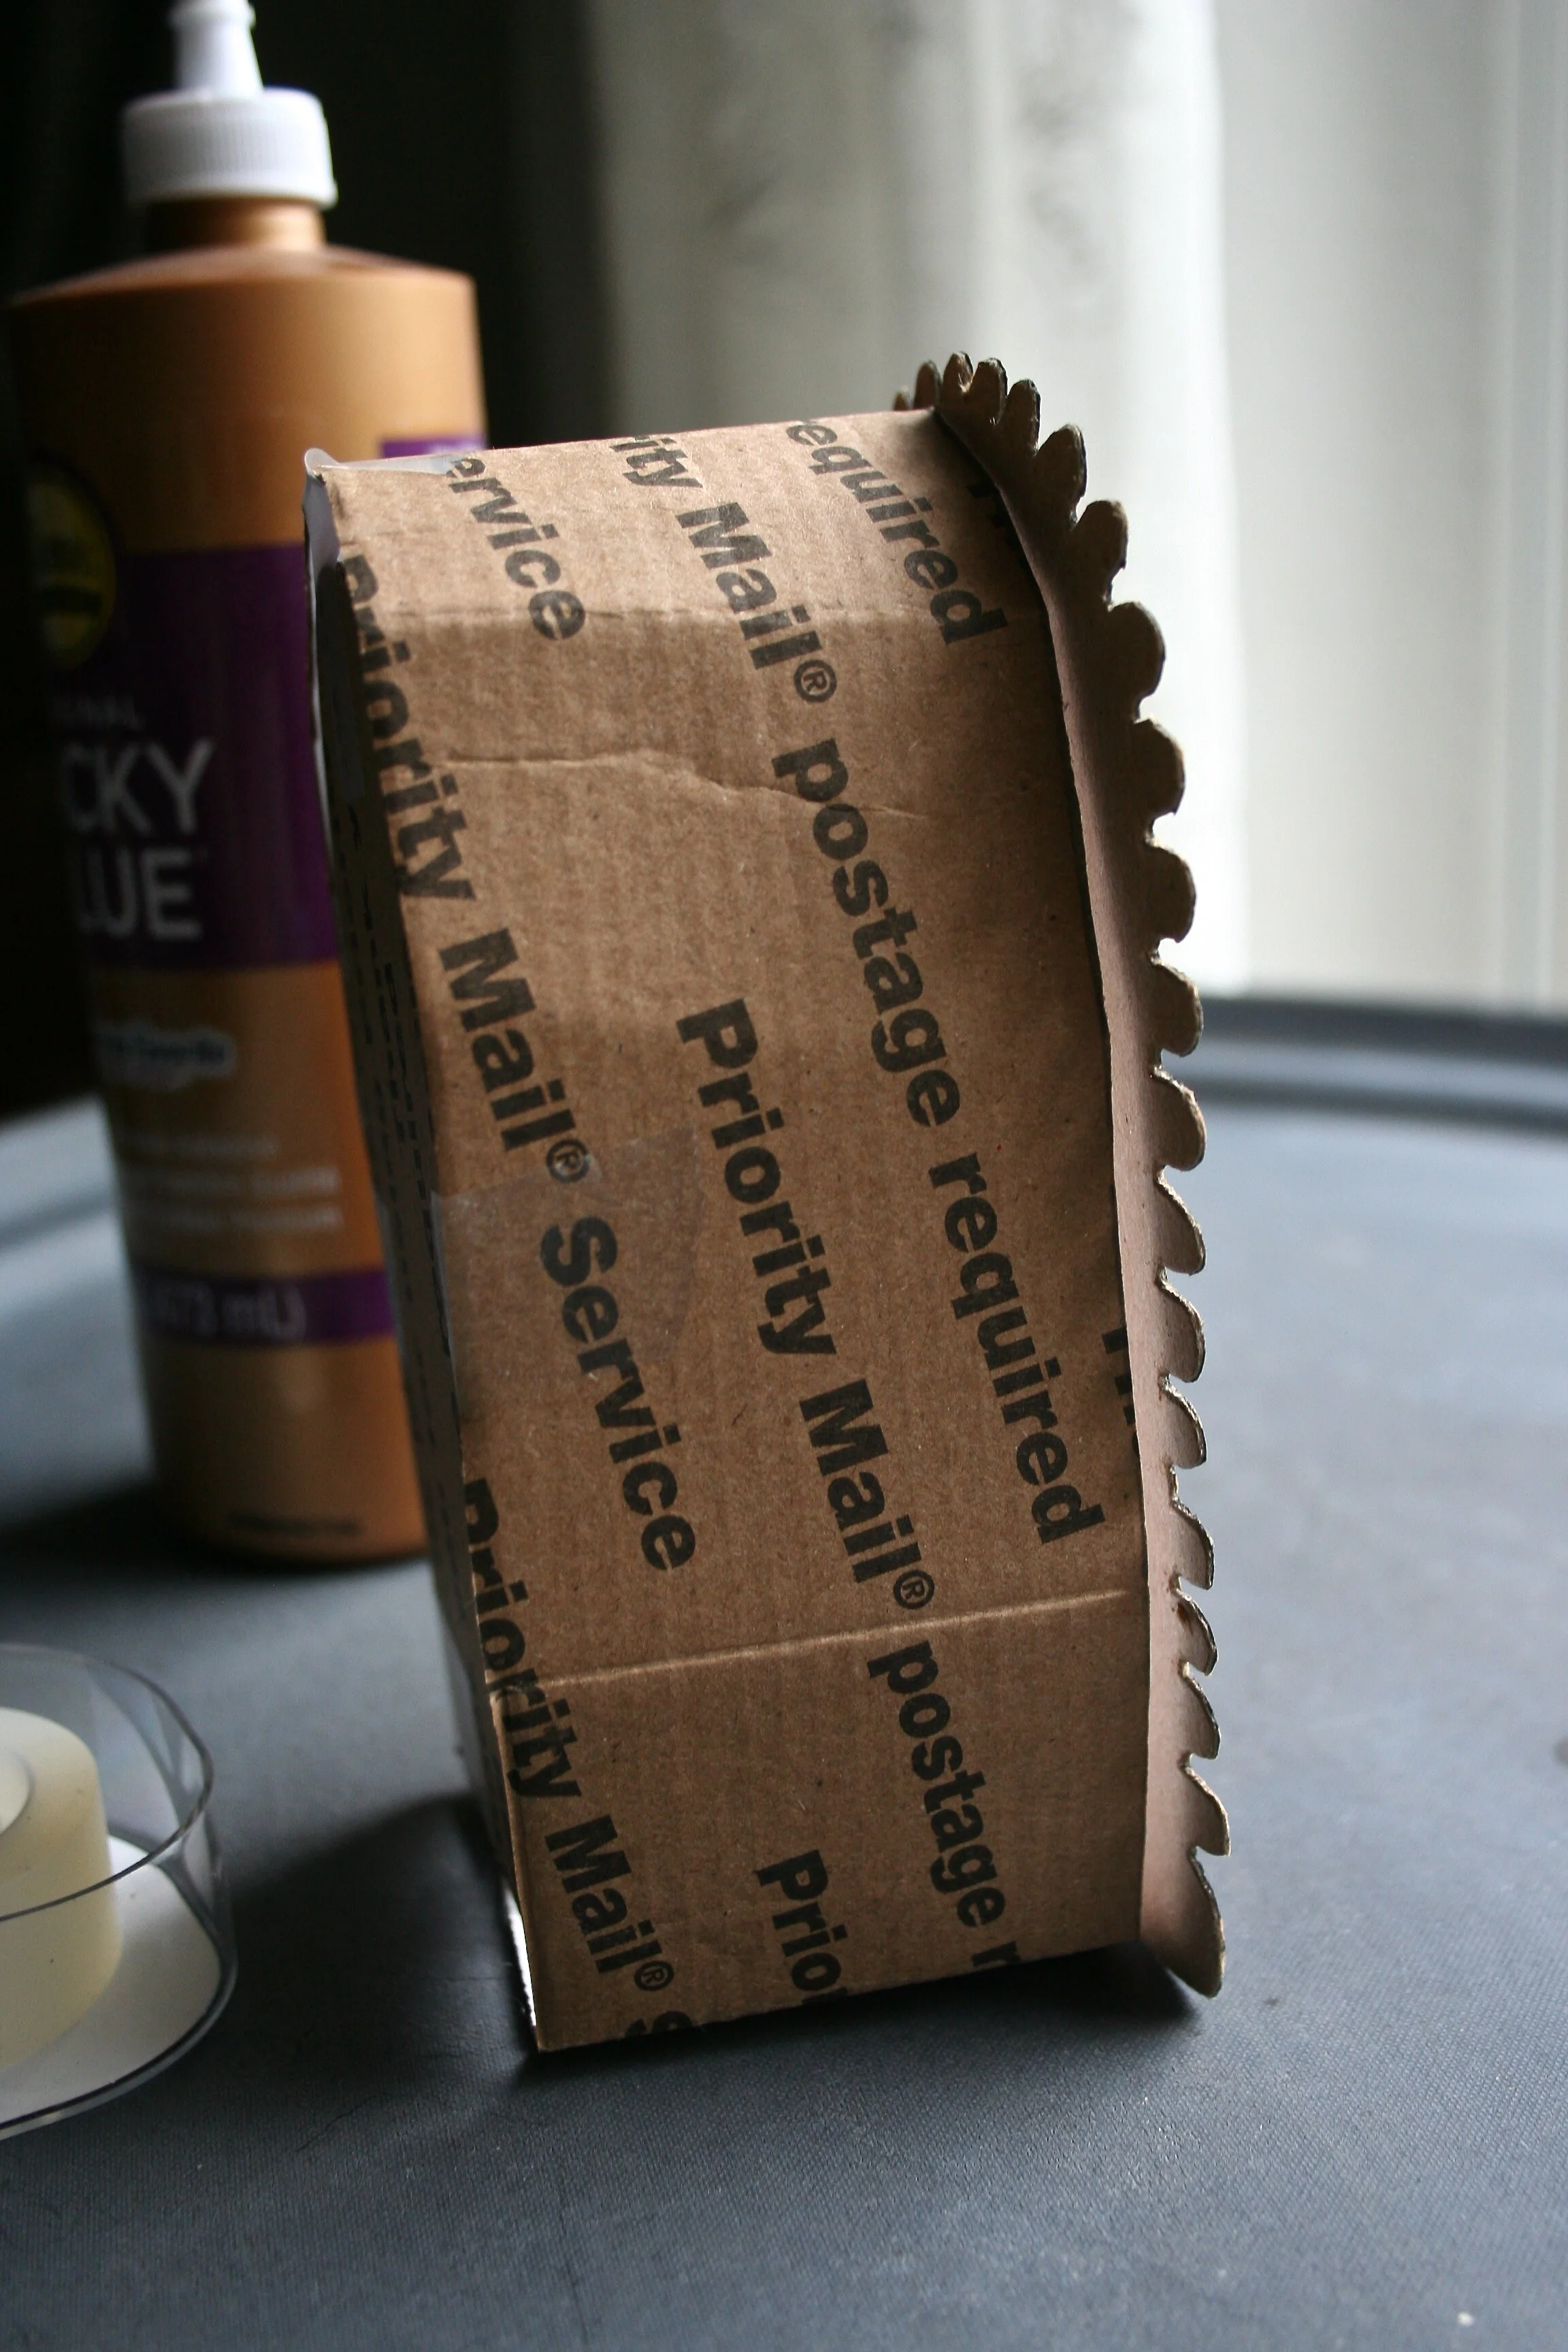
Use a ruler and trace out a long strip of cardboard that will become the sides of the shrine. Measure approximately 2 3/8” wide x 16” long.

Cut out the strip and begin folding it bit by bid to create and arched shape, its ok if the cardboard wrinkles up a bit it will just add to the vintage and folksy feel of your finished piece.

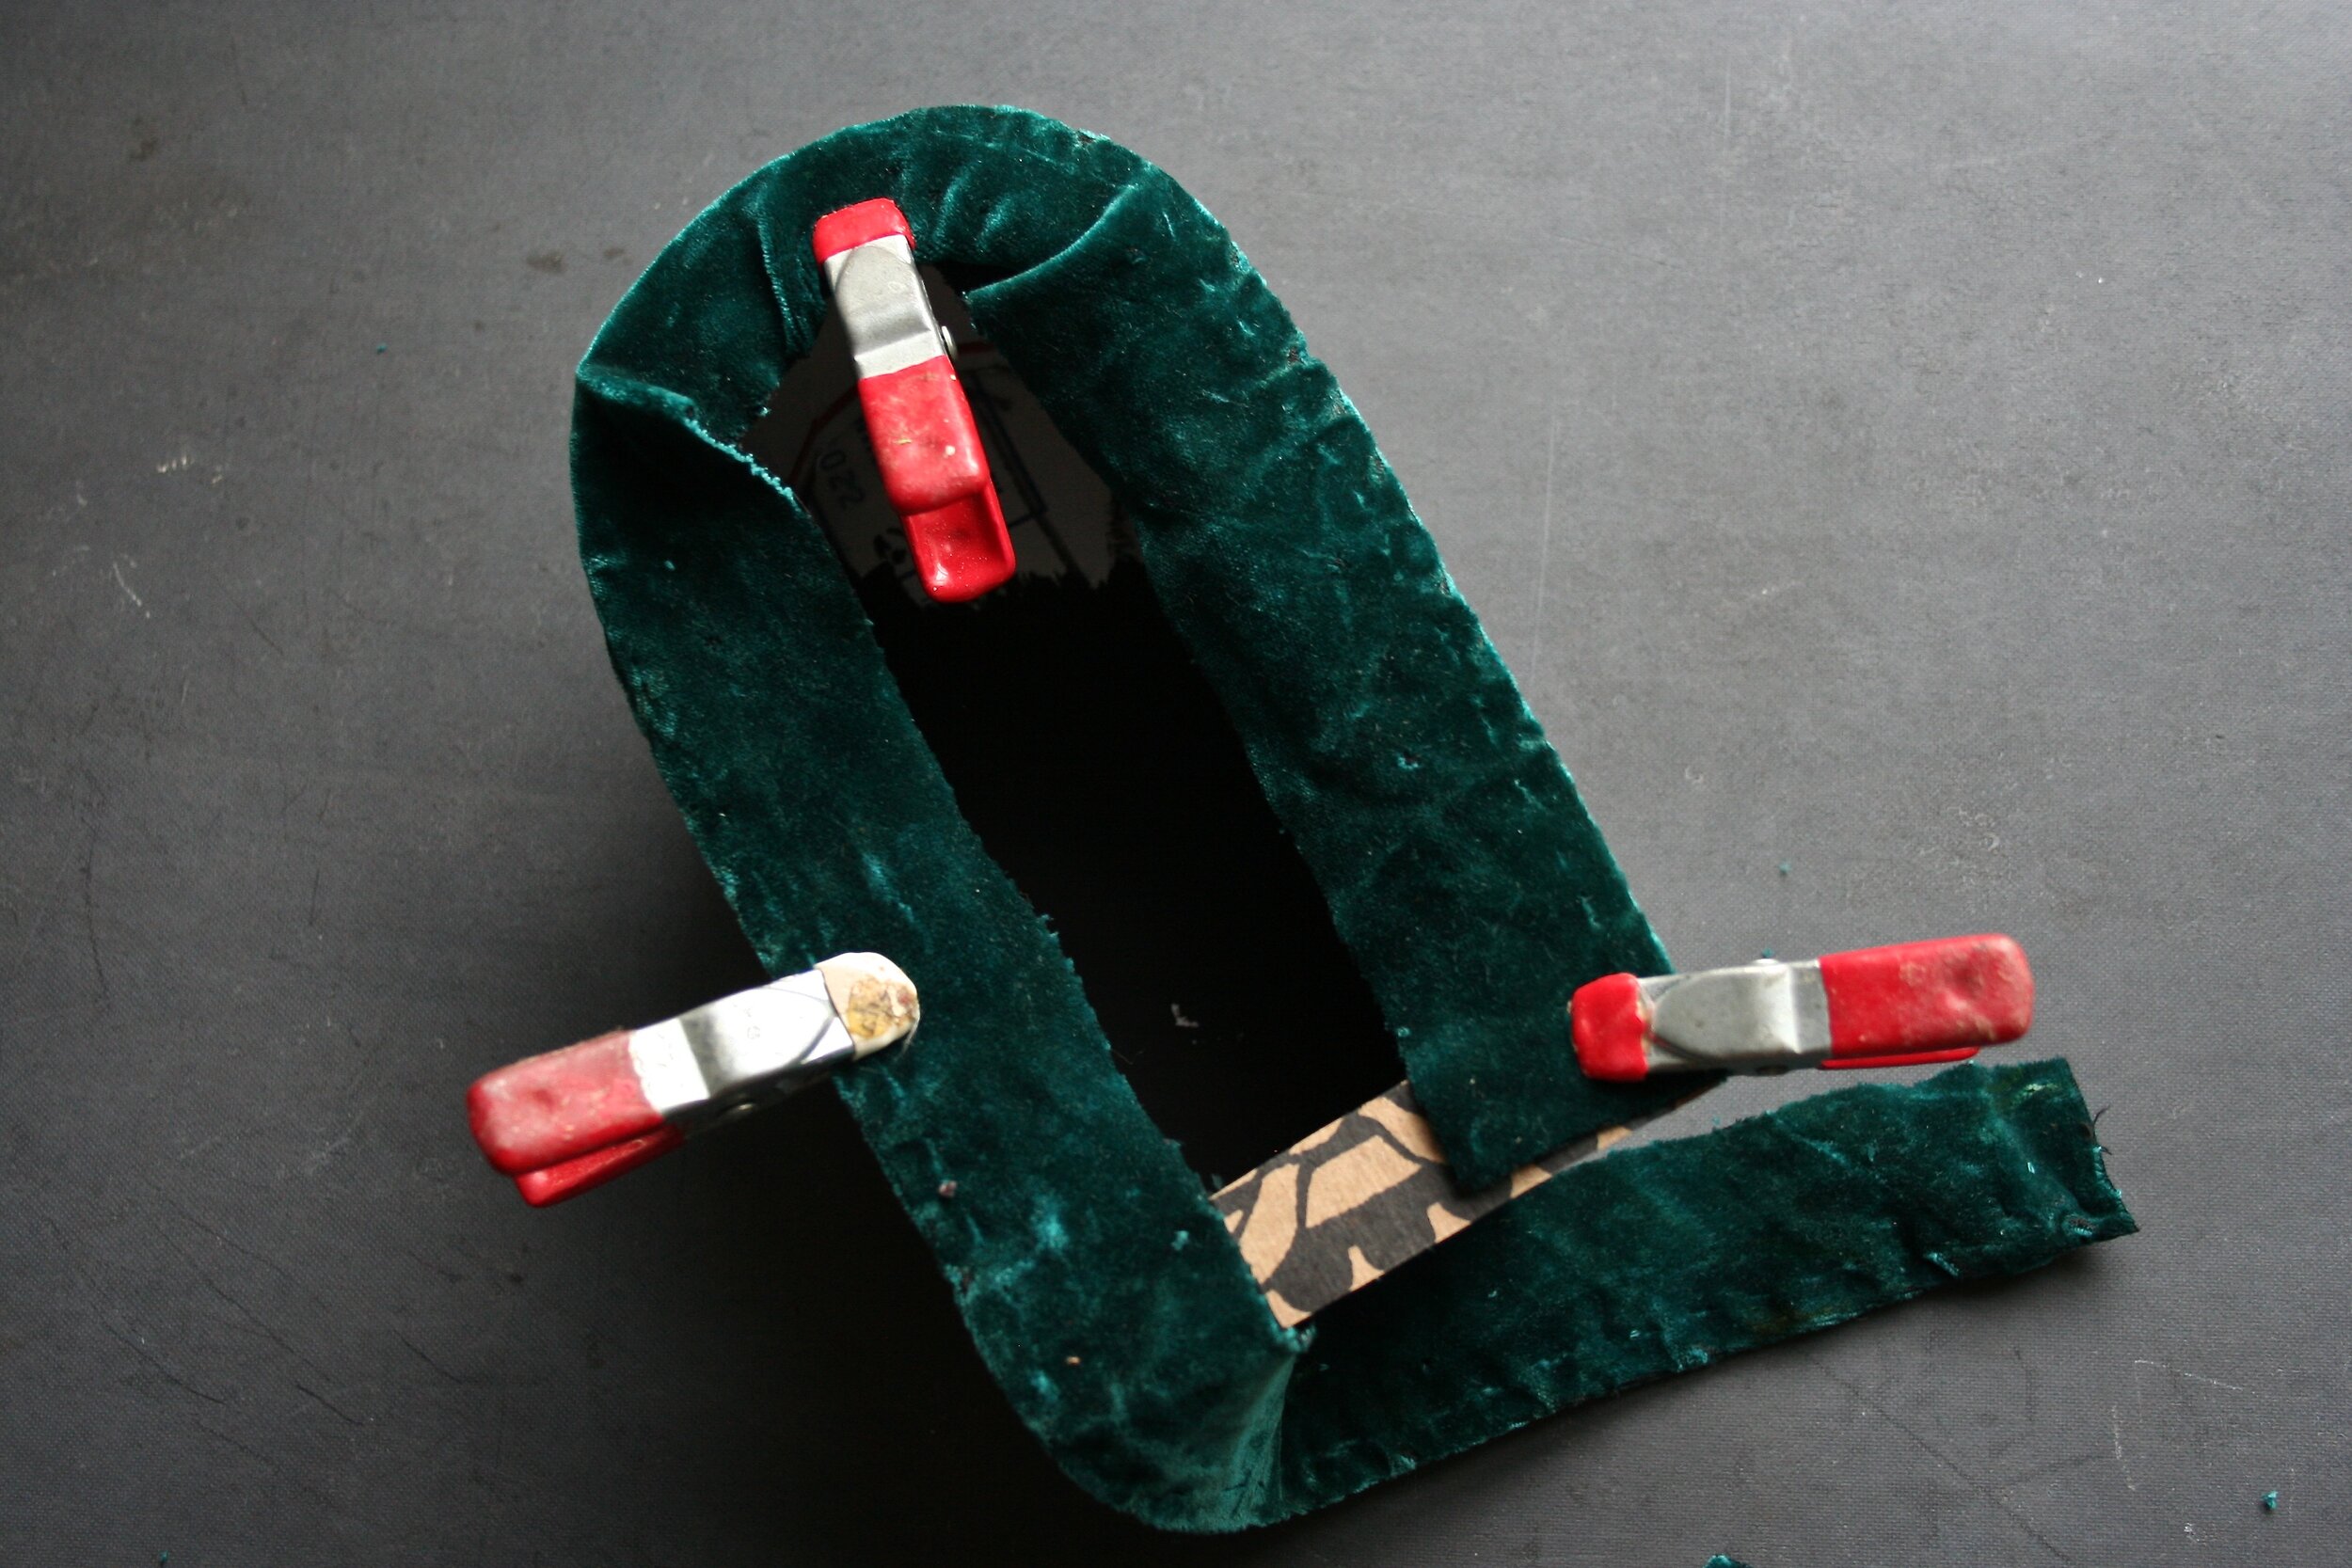
Continue bending the cardboard to creat the arch shape of the Cupula. Use a small clamp to hold the bottom together, do not glue yet.

Take the back piece and fit it behind the clamped “sides” strip.

Use the clamp to adjust the size of the strip so that it fits fairly snugly together.

Place the front stamped chipboard piece of the shrine on to the top.

Place tacky glue along all the seams and glue together. Use the tape to hold things in place while the glue dries. It take a little finagling but once you get the tape in a few places it will hold together nicely. You will remove the tape once the glue has dried so don’t worry about where you place it.
Just lightly place the tape so you can peel it off later.
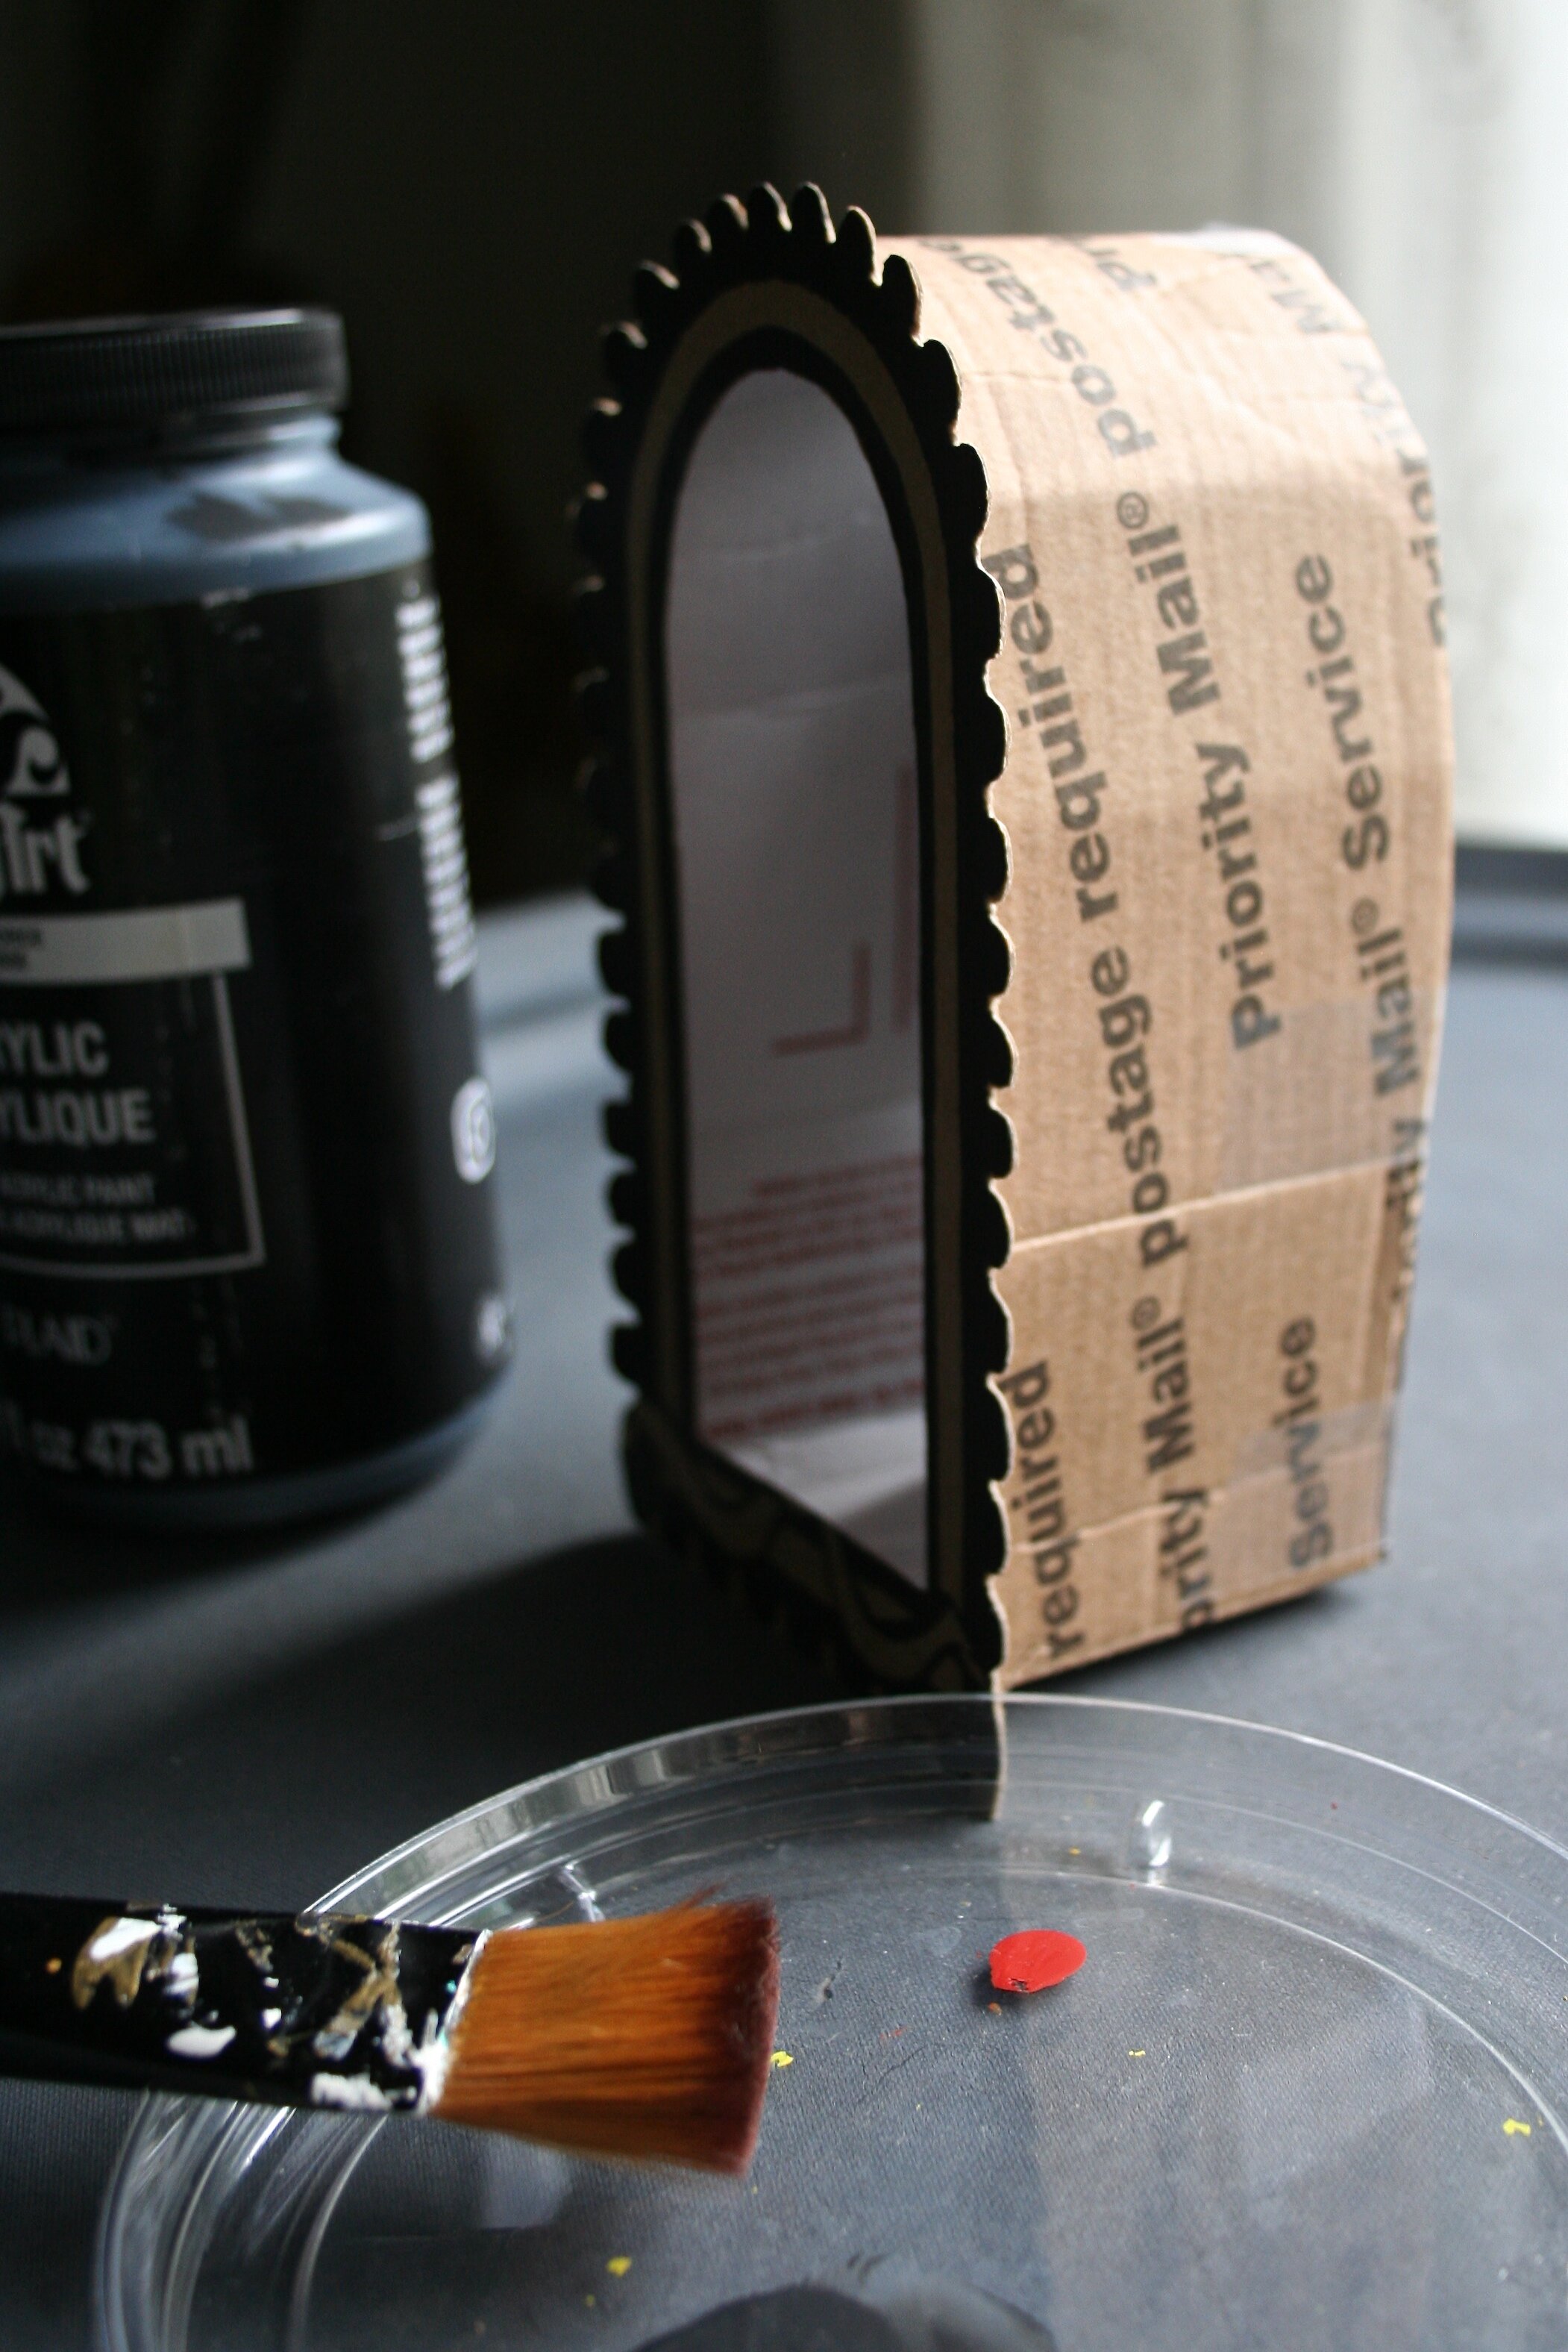
Paint the cardboard shrine with black craft paint, first paint the inside.

Then paint the outside and the bottom and along the scalloped back side of the shrine, no need to paint the front portion as the velvet will be covering it.
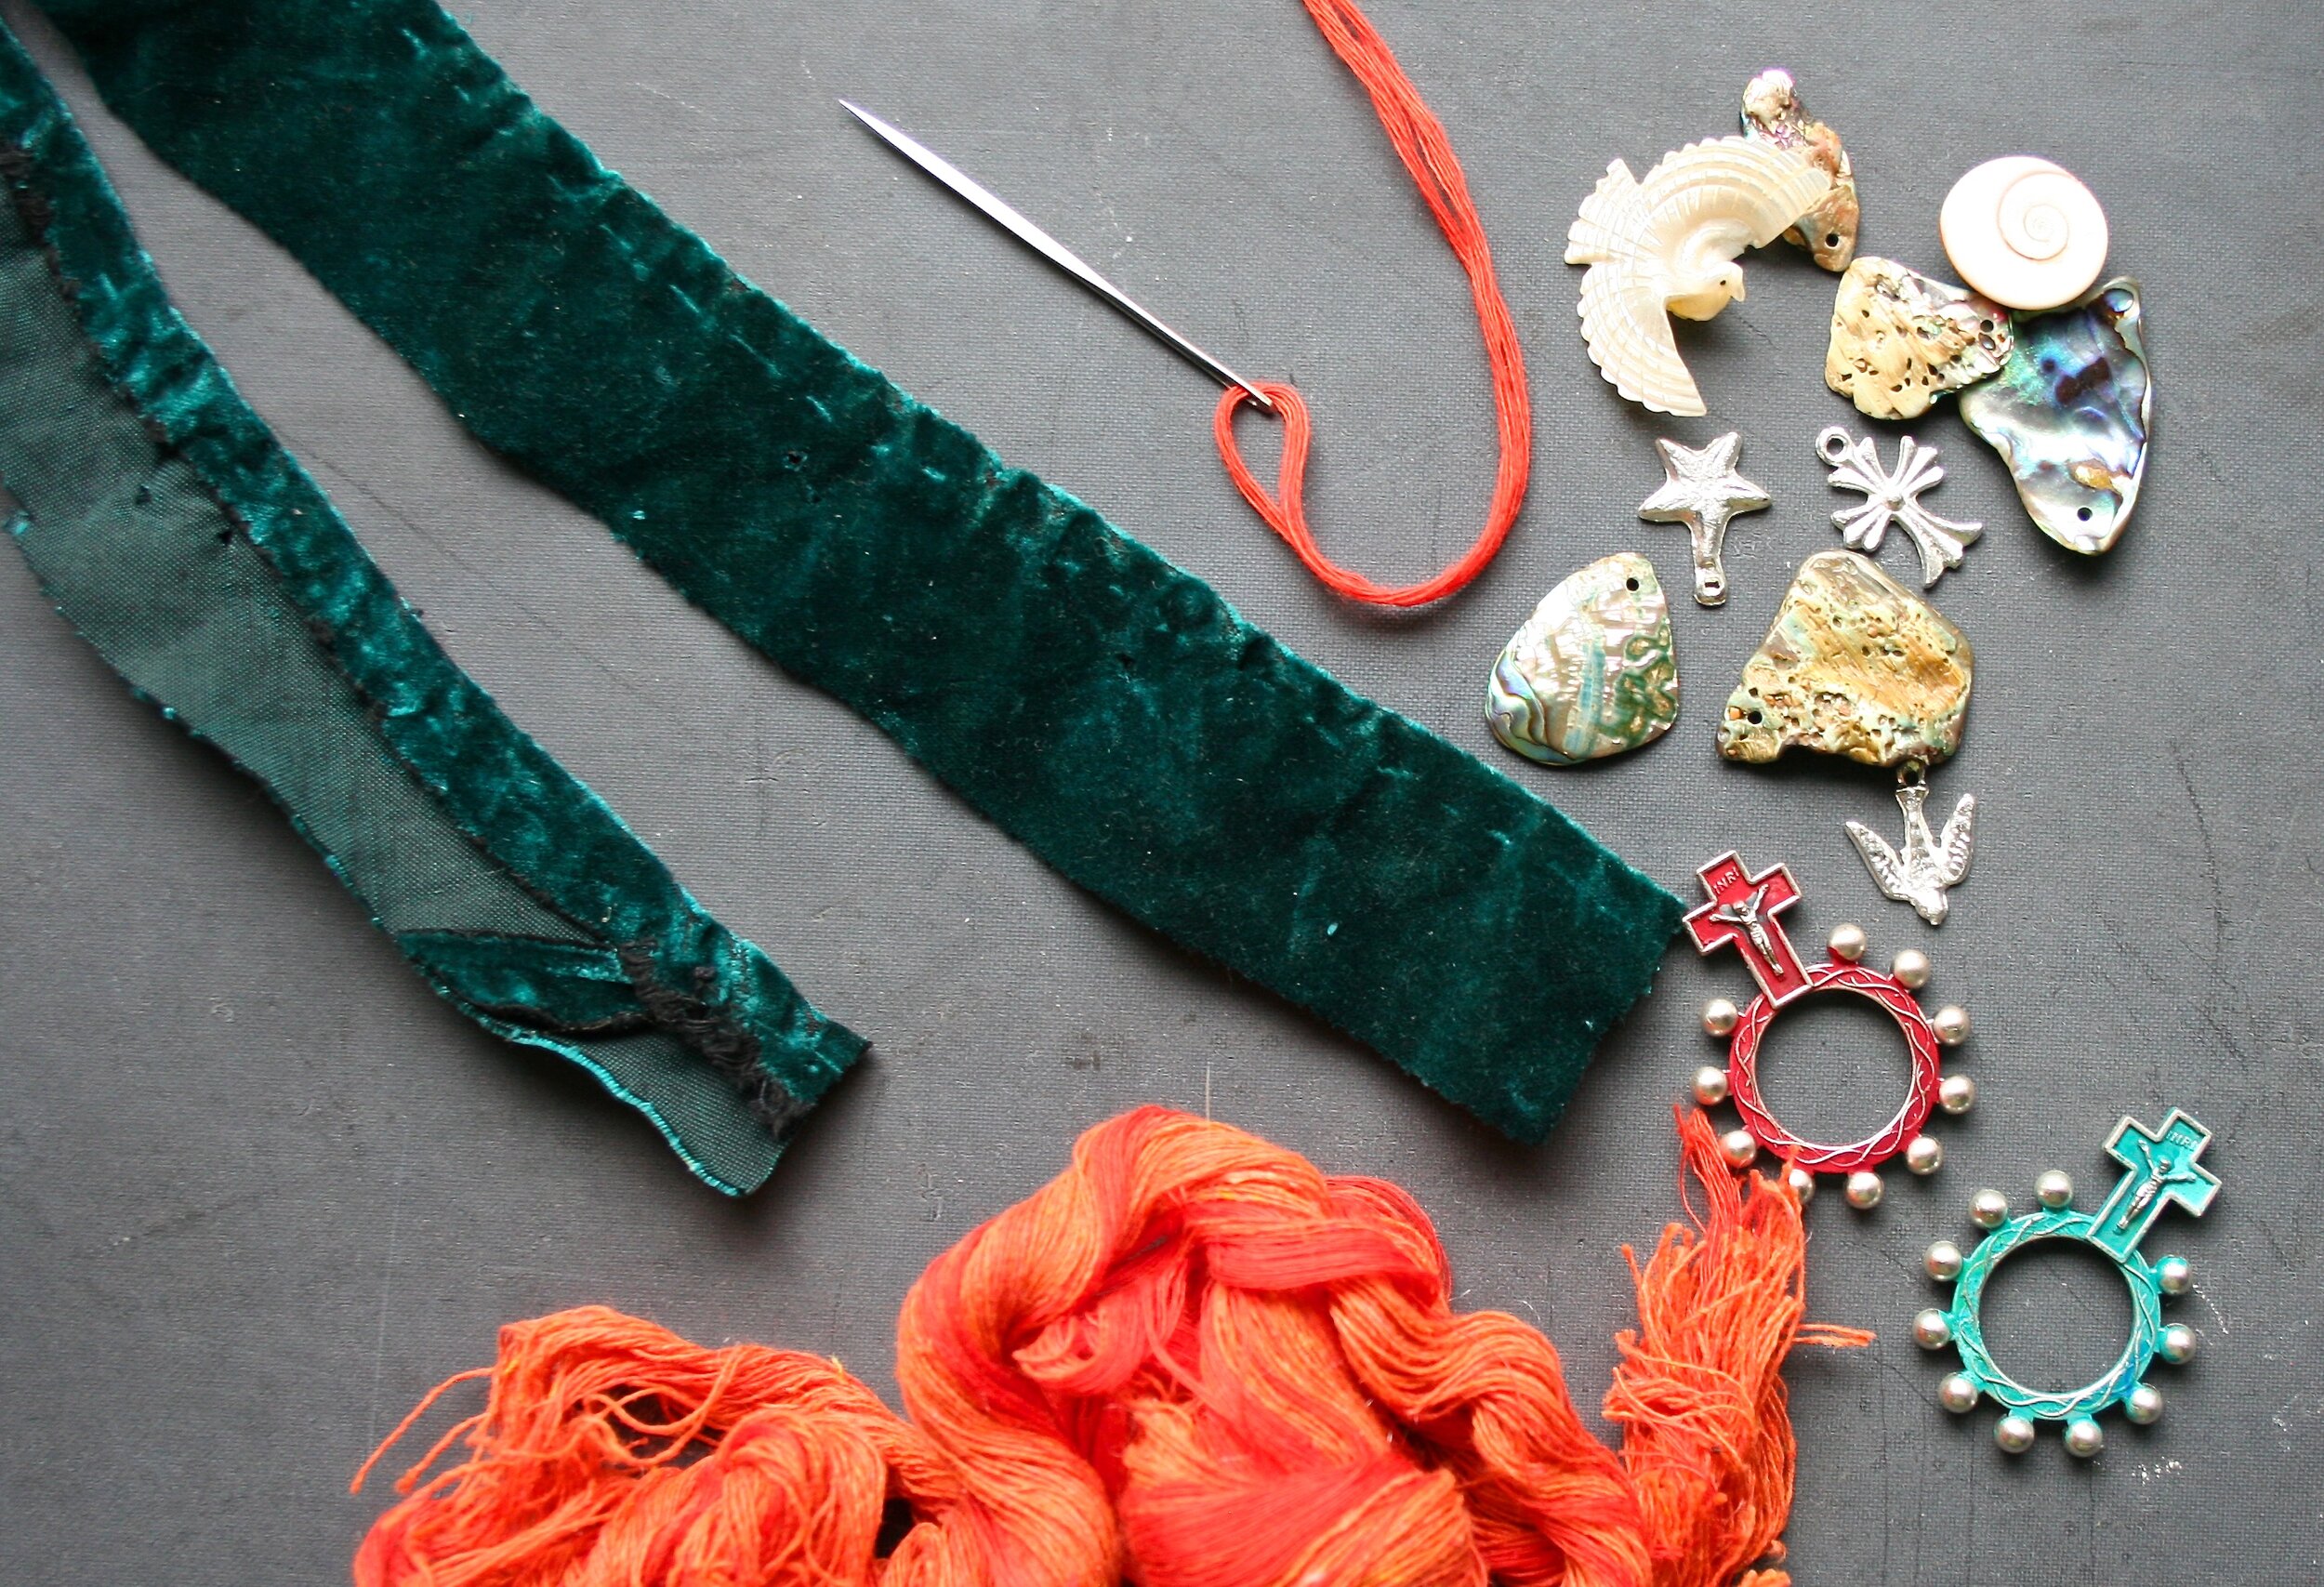
Gather you velvet, needle, embroidery thread and trinkets to embellish the front of your shrine.

I used a Soldiers Finger Ring Rosary (sold here on our website in the Antiquities section.

Place your strip of velvet on top of the front of the shrine, start at the bottom right corner. Leave about 1/4” to 3/8” of fabric on both sides that can be folded and glued around the backside edge and into the inside edge of the front piece.

Run a bead of glue along the front edge,

some more along the front inside edge and some more around the back edge, working your way up as you go.

Smear the glue around evenly

and fold the velvet edges over the inside edge

and back edge to cover the frame.
Use the small clamps to hold fabric in place.

Fold the corner into an angle, glue and clamp in place until dry.

Thread the upholstery needle with a very long piece of embroidery thread, but don’t worry of its not long enough because you can always just pick up where you left off if you run out of thread. Begin the first stitch pushing up through the bottom of the right corner.

Hold onto the tread and pull the needle fairly snug through the scallop “niche” then move onto the next “niche” and do the same thing pulling the thread up snug but not so tight that it creates too much tension which will create wrinkles and distort the fabric.

Continue stitching all along the outside edge creating a beautiful finished thread boarder. On your last stitch pull the thread through the back of the frame, knot and glue in place.

I sed a contrasting color embroidery thread and used two stitches to adorn the top of my new shrine with a Soldiers Finger Ring Rosary.

If you desire you can add more treasures, charms milagros, etc. to the front and sides of your shrine to create a very personalized piece.
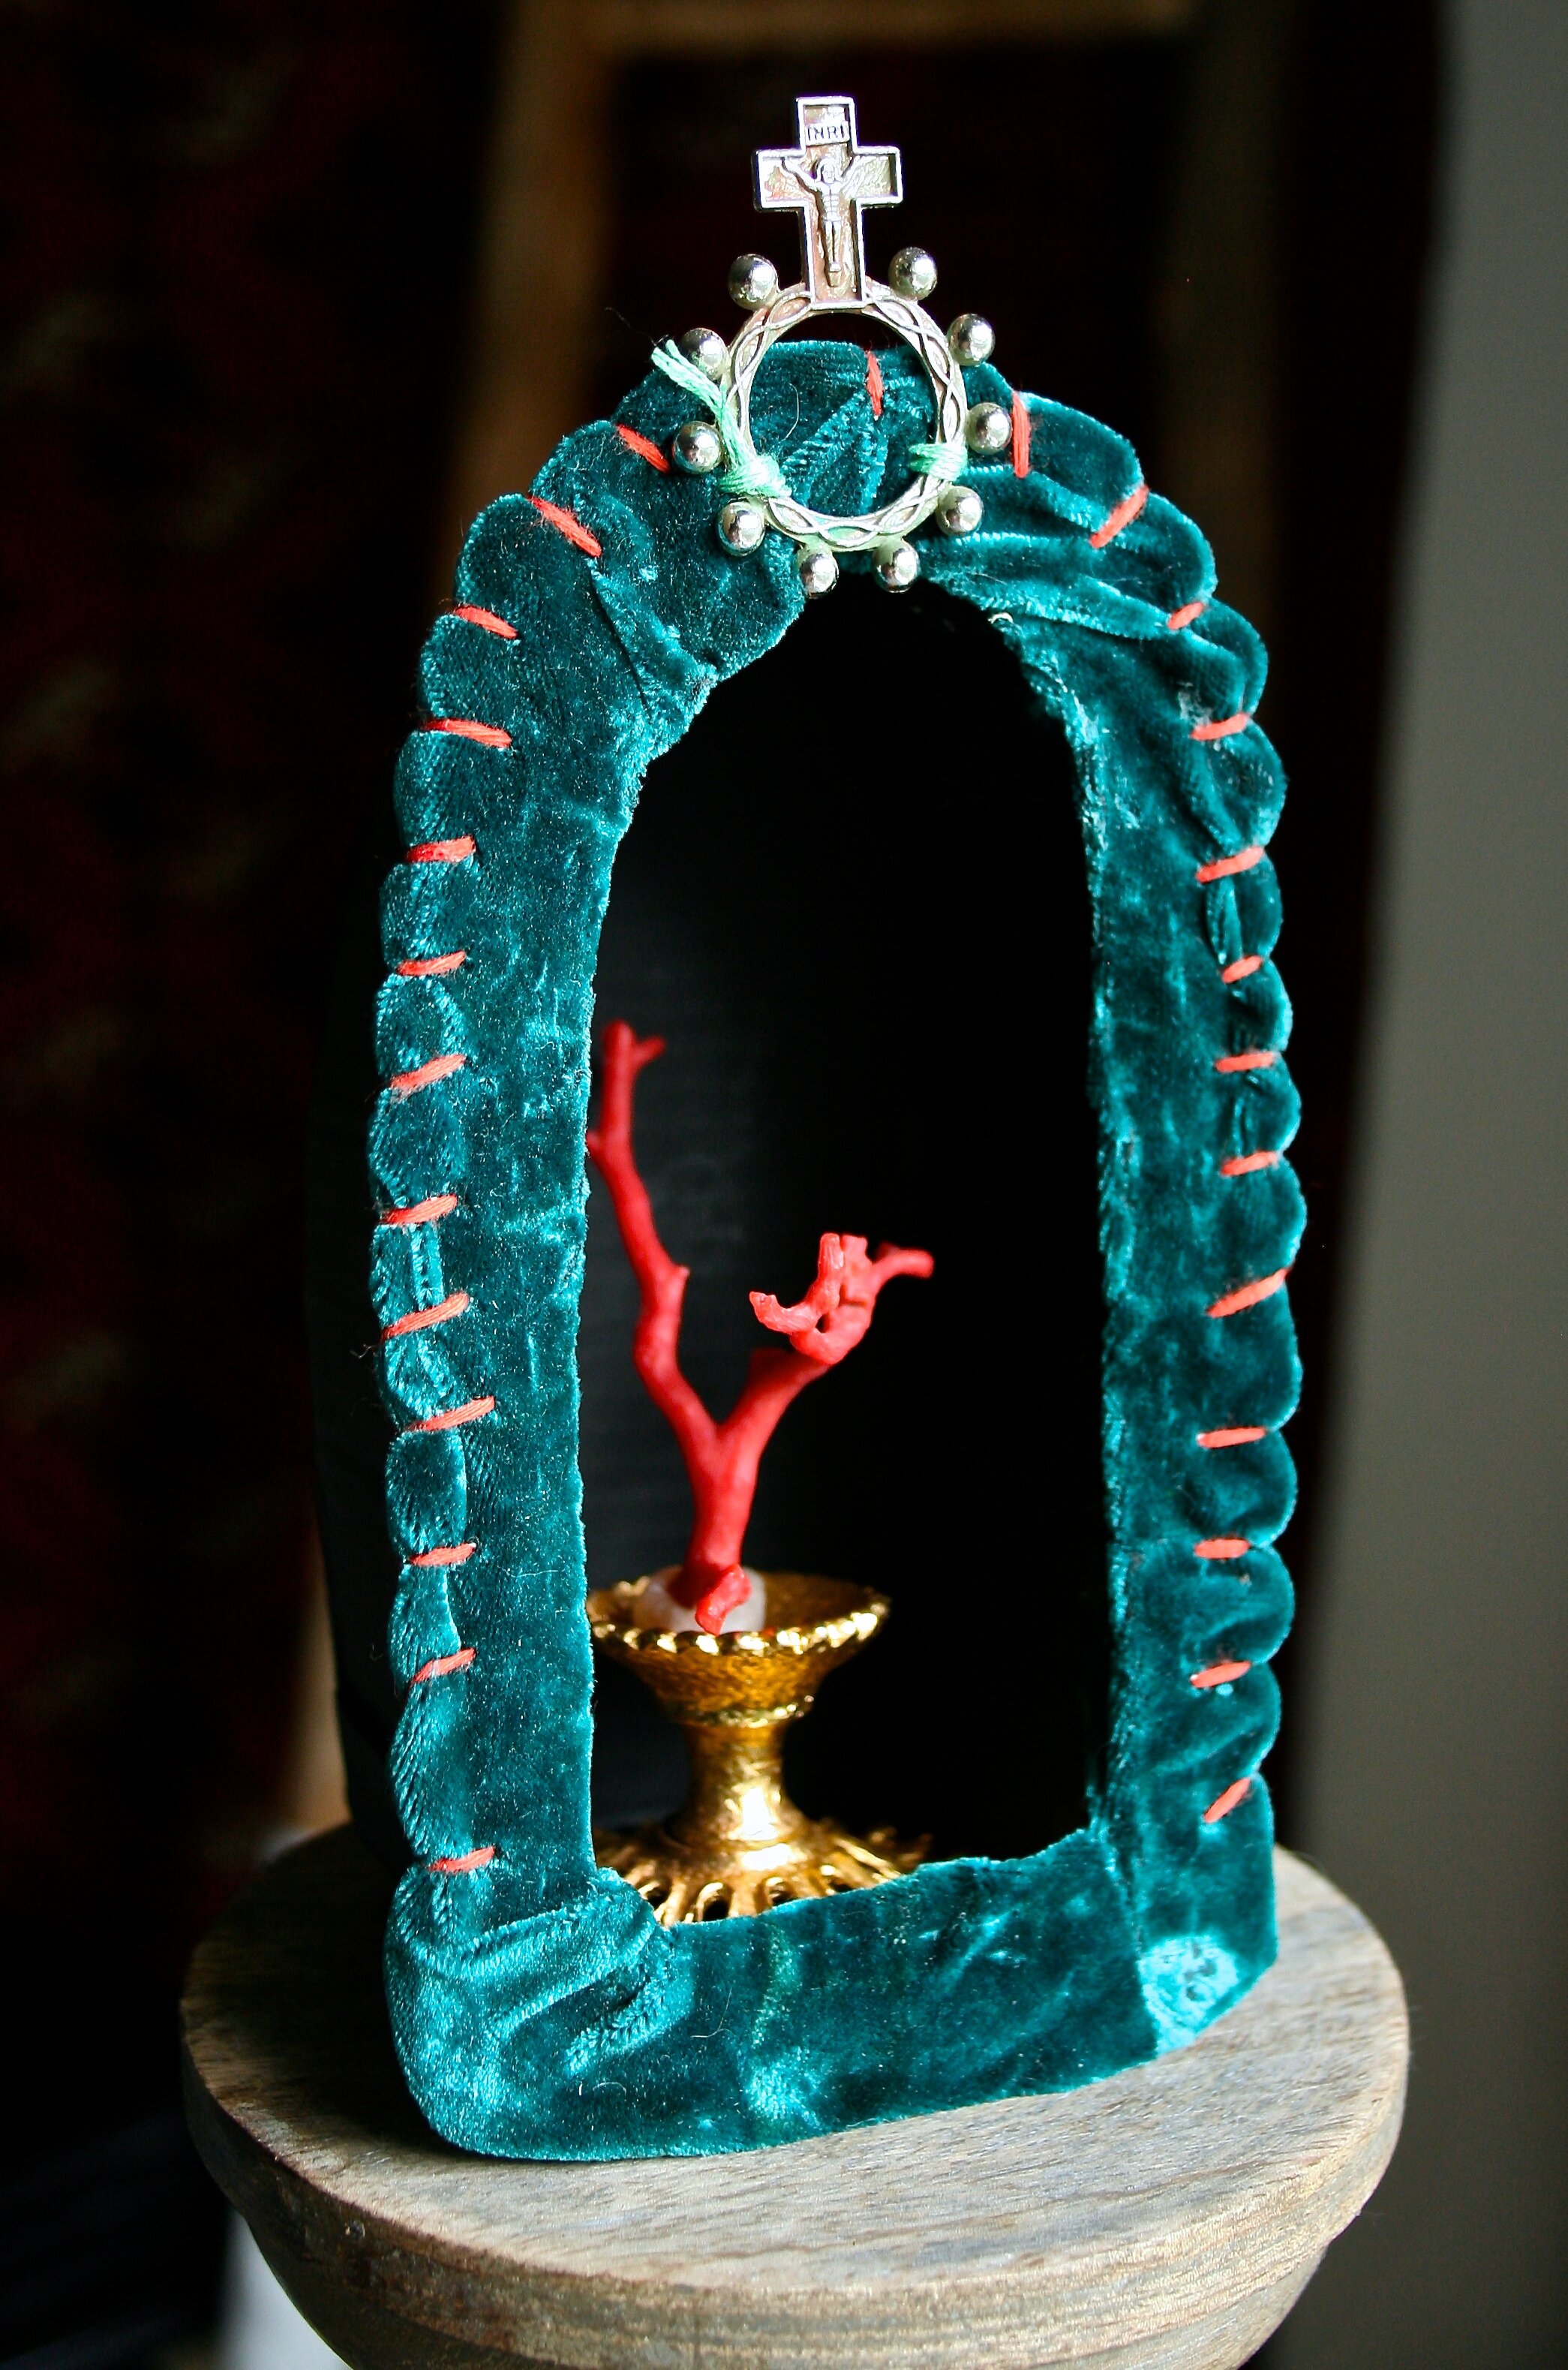
You can use your wonderful new shrine to showcase a special vintage treasure or even a RELICS & ARTIFACTS® piece you have created! I hope you all enjoyed my little How To Class. We would LOVE to see some of your finished SHRINES and would like to create a MUSE post with them to show off your work! Thanks so much for sharing your time and art with me!